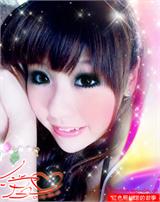
PS: Beautiful ladies

Open the image, duplicate Layer 1, press Ctrl+M to bring up the Curves. Focus only on the cheeks and try to make them appear as "youthful" as possible. Use a mask to erase parts that are not cheeks. Then duplicate Layer 1 again for adjusting the hair by pressing Ctrl+B. Use Color Balance to adjust the hair to be redder and darker, but don't overdo it or it will look unnatural. Next, we'll give our model rosier cheeks. Create a new layer and use the brush tool to paint a few strokes on the model's face. Go to Filter - Blur - Gaussian Blur to blur what you've painted, and this way you'll get rosy cheeks. If it's not enough, you can duplicate the blurred layer and stack them together... Red100-红色照相馆's story (http://www.52poto.cn) is a professional photo editing website that provides enthusiasts with related tutorials, resources, materials, tools, and communication platforms. It is also a gathering place for all PS lovers to exchange experiences and improve together.