It snowed, PS a snowy day!
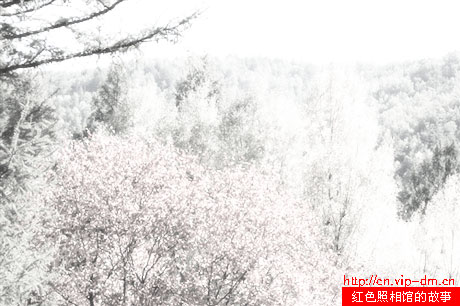
It's snowing, PS a snowy day!
Red100-Studio Story (http://cn.vip-dm.cn) is a professional photo processing website that provides enthusiasts with relevant tutorials, resources, materials, tools, and exchanges. It is also a gathering place for all PS lovers to exchange experience and make progress together.
Let's take a look at the effect first: Open the picture, press ctrl+alt+shift+`, select the highlights of the photo. Do not cancel the selection area, create a new layer 4, fill the selection area with white, press twice to fill (this will fill deeper). Then select the original image, press ctrl+m, bring up the curve line, pull it down, adjust the color darker. Now we are at the last step, I will explain two steps together. Copy layer 4 twice more, then bring up the Gaussian Blur settings to 1.9 or 2, it doesn't matter. At this point, you can see the effect (if you think it's too white, you can adjust the opacity)...